Are you a cord-cutter lover who loves to enjoy a cord-cutting solution while tasting various forms of entertainment? Then Internet Protocol Television (IPTV) will surely be a great option for you. As online platforms steadily take over traditional ones like cable or satellite, Internet TV is becoming increasingly popular. But, do you know that you can integrate IPTV with Plex – your favorite media player?
In this guide, I’ll have an in-depth discussion on the processes of how to set up IPTV on Plex. It doesn’t matter if you’re a beginner or a pro. This simple guide will help you complete the entire procedure conveniently, allowing you to enjoy the vast range of entertainment seamlessly.
Let’s read till the end to learn about Plex and IPTV, strategies of installing IPTV on Plex, along with the benefits of using Plex. Time to check the discussions to start streaming straightaway. Here we go –

What is Plex?
Plex is a powerful media server software. It enables you to organize and stream your personal media collection, including movies, music, photos, and even live TV. It offers a massive range of free content, including thousands of movies, binge-worthy TV shows, documentaries, etc.
However, if you want to enjoy advanced features like DVR (Digital Video Recorder) and catch-up, you need a paid Plex Pass subscription. Plex doesn’t natively support IPTV.
Hence, with the help of third-party plugins and tools, you can add IPTV to Plex and enjoy live TV directly from your Plex interface.
What is IPTV?
Internet Protocol Television(IPTV) is a digital way of entertainment. It uses the internet to deliver television content to viewers, replacing traditional methods like cables or satellites. People can now enjoy TV channels, movies, shows, live events, etc., online.
With an IPTV subscription and a compatible M3U playlist URL, you can stream thousands of channels worldwide, including movies, news, sports, and more.
Prerequisites to Watch IPTV on Plex
So, you want to add an IPTV subscription to the Plex media player? Ok, fine. But, before doing this, you need to conduct the following sequences:
- Plex Account
Firstly, sign up for a free Plex account by using your email address or a Google or Apple account. You don’t need to pay a penny for that. It’s free. Moreover, this account serves as the pillar to access and handle the media library.
- Plex Pass Subscription
Yes, you’ll get the basic features for free. But, if you want advanced ones like offline viewing, DVR functionalities – a Plex pass subscription is a must.
- Plex Media Server
Download and install the Plex media server on Windows, macOS, Linux, or NAS.
- A Necessary Tool
A proxy tool like xTeVe or Telly is needed to smooth communication between your IPTV service provider and Plex Media Server.
- Compatible Device
A compatible device, such as a PC, laptop, smartphone, smart TV, tablet, or phablet, is needed to watch Plex.
- M3U and EPG URLs
Collect the M3U playlist and Electronic Program Guide (EPG) URLs from the IPTV subscription provider. These URLs are necessary for shaping xTeVe to access IPTV channels and program listings.
So, we’ve seen about IPTV, Plex and the consideration required to merge them. Let’s check the vital discussion on the guidelines for watching IPTV on Plex.
Step-by-Step Guide for Watching IPTV on Plex
Finally, we’re here. In this section, I’ll have an in-depth discussion on the installation process of Internet TV on Plex so that you can elevate your TV-watching experience to the next level.
In this guide, you’ll find all the necessary steps – from installing the Plex media server to getting the IPTV M3U playlist URL, downloading and setting up XTeVe, configuring Plex to understand IPTV, and enjoying Live TV. Let’s go:
Step 1: Install Plex Media Server
Install Plex Media Server on the device you’ll use it. If you don’t know the installation process, follow these instructions –
- Go to https://www.plex.tv
- Download and install Plex Media Server for your operating system.
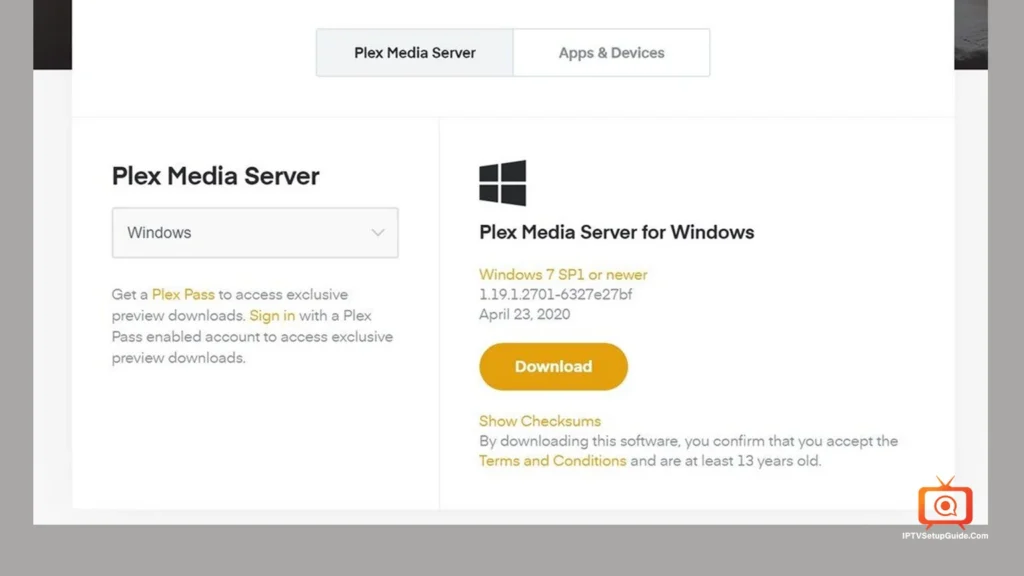
- Go to Plex Media Server and choose the operating system you want to use.
- Then download the server and install it.
- Create a Plex account and log in.
Step 2: Get Your IPTV M3U Playlist URL
You’ll need a valid M3U playlist from your IPTV service provider. This file contains all the channel information needed for streaming. After purchasing the subscription, ask the provider to give you the M3U playlist.
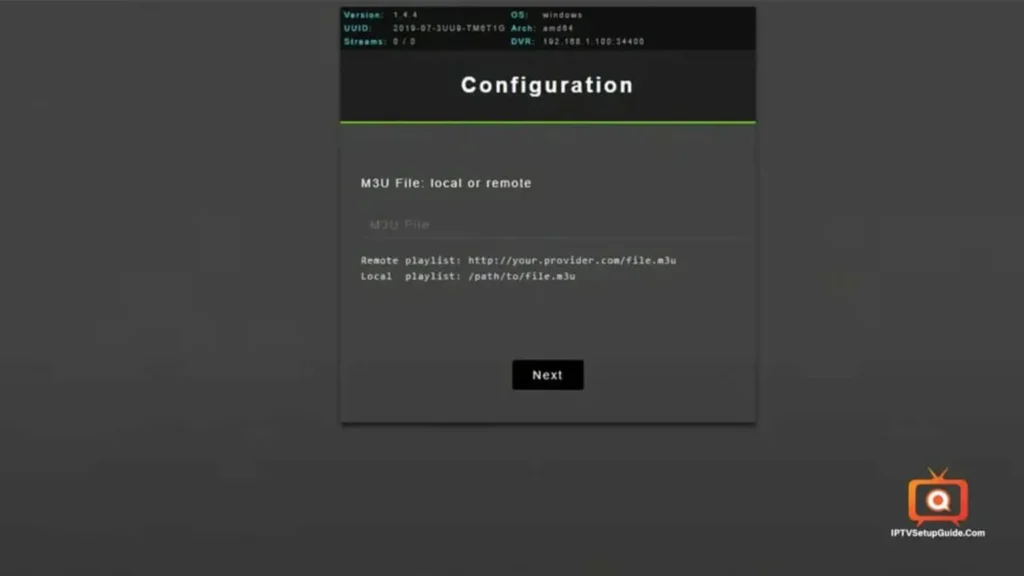
Important Note: Ensure your IPTV provider supports Plex-compatible streaming or offers a stable M3U URL. It will be extremely helpful to you while completing the installation process.
Step 3: Download and Configure XTeVe or Telly
Plex doesn’t directly support TV over broadband. So, what to do? Well, nothing to worry! All you need is a middleware software to complete the process. In such a case, XTeVe or Telly could be useful.
With XTeVe
- Download xTeVe from https://xteve.de
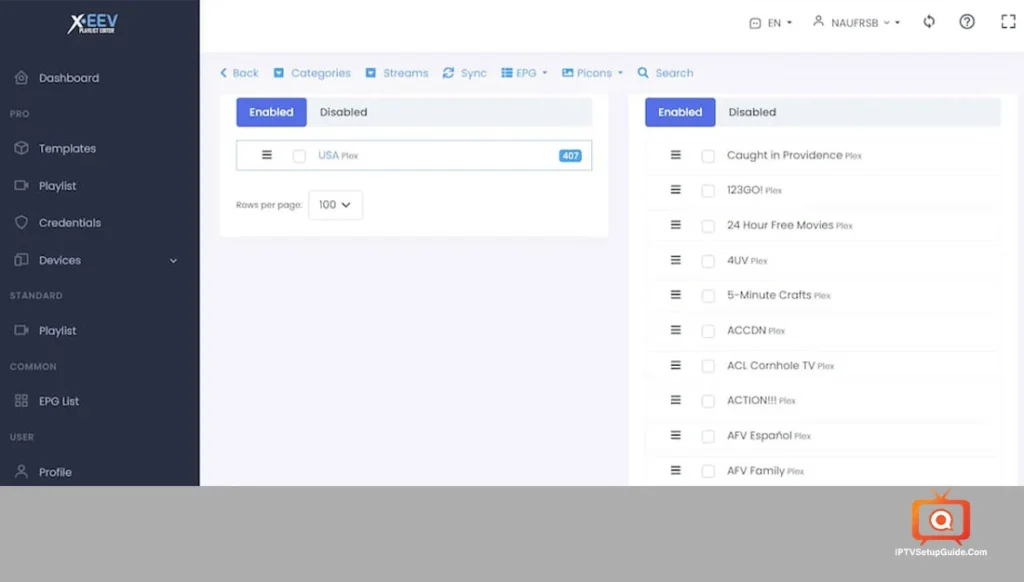
- Install and launch xTeVe on your device.
- Go to access the xTeVe web interface.
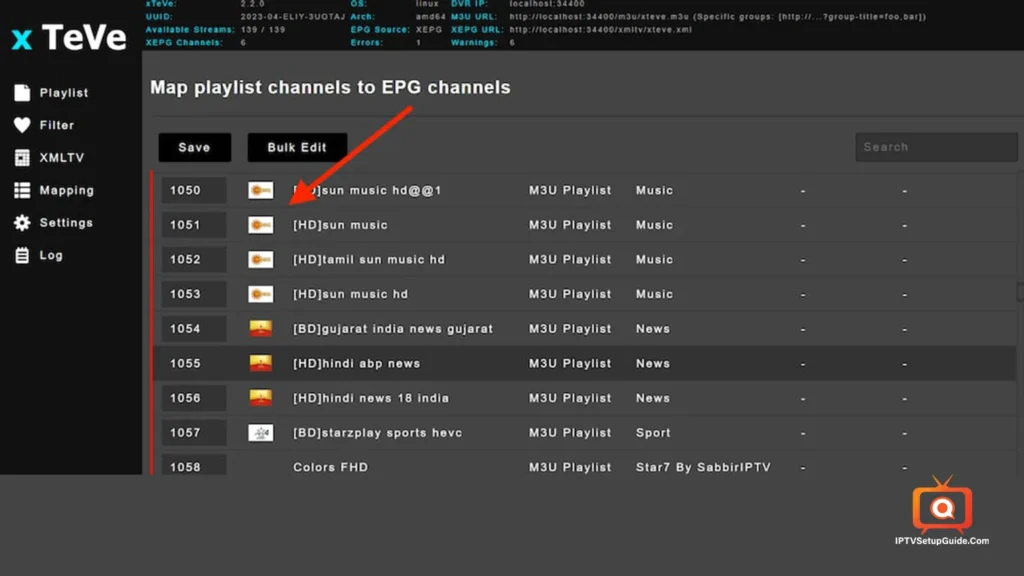
- Under Playlist, add your M3U URL
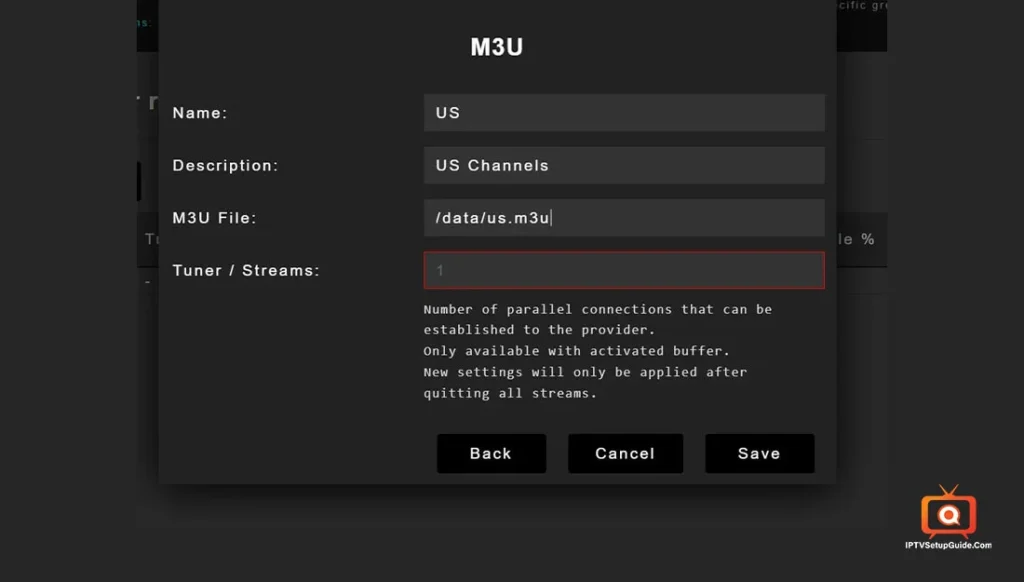
- Map your channels from the M3U playlist to the EPG data within xTeVe. Set the stream buffer to ffmpeg. This is how it can better handle the m3u8 streams.
With Telly (alternative)
- Telly works similarly to xTeVe but may require more configuration
It emulates an HDHomeRun device to stream IPTV to Plex Media Server.
Note – Using XTeVe is highly recommended, as it is more user-friendly for Plex users.
Step 4: Configure Plex to Acknowledge IPTV
- Open Plex and go to Live TV & DVR.
- Plex will automatically scan for a tuner (xTeVe or Telly).
- Select your IPTV channels and match them with appropriate guide data (TV guide).
- Save and let Plex download the guide.
Step 5: And the Ultimate Fun Begins!
- Launch the Plex app on a streaming device like an iMac, iPhone, Google Pixel, Apple TV+, Google Chromecast, Amazon Firestick, Roku, Nvidia Shield, etc.
- Go to the Live TV & DVR section in Plex, and select your favorite channel(BBC, CNN, Fox Sports, NBC, ABC, ESPN, Star Sports, beIN Sports, USA Network) to start watching IPTV.
- The streaming and fun – at real-time! The unlimited entertainment begins here!
5 Important Tips for Better IPTV on Plex Experience
- Use a VPN (Virtual Private Network) to avoid geo-restrictions or ISP throttling. A high-quality VPN can effectively safeguard your privacy, too.
- Keep your M3U playlist updated if your IPTV service provider changes links.
- Add an XMLTV EPG source for an enhanced guide experience.
- Use a NAS or server with good performance for smooth streaming.
- Regularly back up your xTeVe configuration.
Common Issues You Can Face While Setting Up IPTV on Plex
Let’s check 6 common problems you can face during the installation process of Internet Protocol Television on Plex.
- Inaccessible xTeVe – After configuring xTeVe and Plex for the first time, you must reset the Plex server so that it can acknowledge the new tuner. Sometimes, you may encounter issues where xTeVe is inaccessible. Restarting both xTeVe and Plex can reestablish the connections.
- Limited Channel – xTeVe has a channel limit of 450 channels. If your IPTV subscription provider offers more channels, both IPTV and Plex won’t work. In that case, you need to rearrange your channel lists.
- Firewalls or VPNs Might Block the Connection – Some Firewalls are too cautious. Conversely, some VPNs on your server may prevent Plex from connecting to the IPTV stream.
- Incomplete TV Guides – Sometimes, your EPG won’t work correctly. Reason? The EPG XML data is outdated. It’s the problem of your provider. Constantly update the Interactive Programming Guides to stop such a problem from disrupting your entertainment.
- Playback Errors or Buffering – Another common problem. It can occur due to a poor network connection. You should better use Ethernet or Starlink Network for a good connection and seamless streaming.
- Time-consuming setup – The manual setup might take a lot of time. You should keep your patience for this.
Since we’ve checked the steps and common problems, now we’ll focus on checking the benefits of using Plex.
Advantages of Using Plex Over Other IPTV Players
- All-in-One
It can perfectly combine live TV channels with movies, TV shows, anime, etc.
- Sophisticated Media Handling
Its server data can productively arrange content with rich metadata.
- Multi-device Streaming
It seamlessly works across multiple devices such as smartphones, smart TVs, desktops, game consoles and web browsers.
- Central Control
There’s no need to install IPTV apps on each device.
- User Management
Plex Home lets you set up individual profiles for friends and family members. It also offers PIN protection to restrict kids’ access to adult content. The parental control feature prevents children from accessing content intended for a mature audience.
Closing Thoughts
Watching Internet Protocol Television through the Plex media player just opens the sea of entertainment. You can enjoy live TV channels, VODs, podcasts, music concerts, PPV(Pay-Per-View) events, and sports events seamlessly. Yes, the procedure might take a bit of time. But once you are done, you’ll get a powerful media player that elevates your entertainment experience to a new height.
After the completion, you’ll end up with a centralized dashboard, powerful search capabilities, parental controls, offline viewing, and DVR functionality. You’ll get immense control over your entertainment journey. I hope my guide will help you add and watch IPTV on Plex without a hassle. Good luck!
FAQs on How to Install IPTV on Plex
Plex requires a Plex Pass subscription to access the Live TV & DVR feature. However, xTeVe and IPTV itself can be free depending on the provider. In short, you can use it freely, but the premium version provides premium features.
It depends on your IPTV service provider. If you use licensed IPTV services to stay legal and compliant, then it’s ok. But using an unverified provider might land you in legal trouble.
You can stream IPTV on Smart TVs, Fire TV Stick, Roku, Android, iOS, macOS, Windows, and even web browsers through Plex.
Most users prefer xTeVe due to its user-friendly interface, active community, reliable, and sophisticated performance.
No. Plex doesn’t natively support IPTV. You’ll need third-party tools like xTeVe, TellyTV, or TVHeadend to bridge your IPTV playlist with Plex.
You’ll need these things :
+ An M3U playlist (IPTV source)
+ An XMLTV EPG (TV guide)
+ A third-party middleware app (e.g., xTeVe)
+ Plex Media Server installed and configured.
xTeVe acts as a virtual tuner, making IPTV streams appear like a physical tuner (antenna/cable) to Plex. It maps your M3U playlist and EPG to work with Plex’s Live TV & DVR feature.
